Observing Skills
How to Use a Finderscope or Red Dot Finder
Learn how to align and use a finderscope or red dot finder to point your telescope accurately at stars, planets, and deep-sky objects.
Your main eyepiece shows a tiny patch of sky at high magnification. Without a properly aligned finder, you can spend twenty minutes hunting for Jupiter when it should take twenty seconds. A finderscope or red dot finder solves that problem by giving you a wide, easy-to-aim view before you ever put your eye to the telescope. Here is how to use one well.
Red Dot Finder vs Finderscope: Which Do You Have?
Before aligning anything, it helps to know what you are working with.
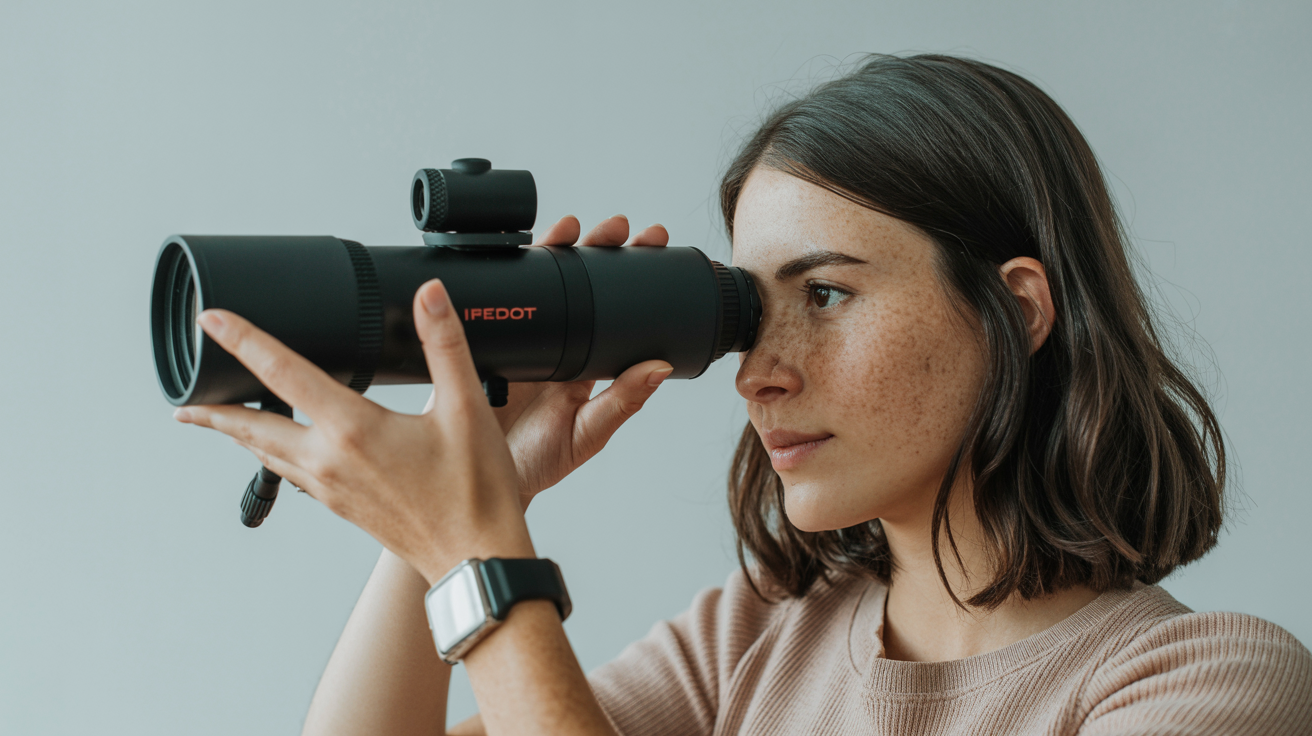
Red dot finders (also called reflex finders) project a small illuminated dot or bullseye onto a lens you look through. The Telrad is the best-known example, but most beginner scopes ship with a smaller single-dot version. They add no magnification and show no image. You simply center your target on the dot and the scope is pointing there. They are fast, intuitive, and easy to use in the dark. The downsides: batteries die at the worst moments, and the lens can dew over on humid nights.
Optical finderscopes look like a tiny telescope mounted on the side of your main scope. They use real optics to magnify the sky by 5x to 9x and show a genuine star field. That magnification makes faint targets easier to confirm, but it introduces two quirks beginners often forget. First, the image is usually inverted (flipped upside down and left-to-right) in a straight-through finder. Right-angle finders give you an upright but mirror-reversed image. Second, because the field is smaller than a red dot finder, you need to know roughly where to start looking. Optical finders reward a bit of practice with star hopping.
Which is better? For casual visual observing, a red dot finder is faster for beginners. An optical finder wins when you are hunting faint deep-sky objects and need to hop star-to-star to confirm your position. Many experienced observers mount both.
Why Alignment Matters
A finder is only useful if it points at exactly what your main telescope is pointing at. If the finder and main scope disagree by even half a degree, you can have the correct field in the finder while the main eyepiece shows blank sky. On a high-magnification view of Saturn, a slight misalignment means the planet is already outside the field of view before you even look.
The good news: alignment is a five-minute job done in daylight, with a touch-up on one bright star at night. After that it stays accurate through a session, and usually through several sessions unless you bump the finder or remove and reinstall it.
How to Align a Finderscope (Step by Step)
Daytime Alignment on a Distant Landmark
- Set up your telescope in daylight, aimed at a fixed point at least a quarter mile away. A radio tower, a chimney cap, or the sharp corner of a roofline all work well. Avoid anything that moves.
- Put your lowest-power, widest-field eyepiece in the main scope. Center the target precisely in the middle of the main eyepiece's field of view.
- Without moving the telescope, look through the finderscope (or the red dot finder lens). Note where that same landmark falls relative to the crosshairs or dot.
- Adjust the finder's alignment screws (usually three small thumbscrews or a pair of push-pull screws on the bracket) until the landmark sits on the crosshairs or dot. Move slowly. Most brackets have spring-loaded screws that work in opposing pairs.
- Check the main eyepiece again. If you accidentally nudged the scope, re-center and repeat step 4.
At this point daytime alignment is done. It takes about three minutes once you know the routine.
Nighttime Refinement on a Bright Star
Daytime alignment gets you close, but glass expands and contracts slightly with temperature, and the distant landmark may not be at infinity focus. A quick star check removes the remaining error.
- Choose a bright, easy star: Vega, Arcturus, Polaris, or whatever is high in the sky. Avoid planets for this step; their disks can fool you.
- Point the main scope at the star using the lowest-power eyepiece. Center it precisely.
- Look through the finder without moving the telescope. If the star sits exactly on the crosshairs or dot, you are done.
- If it is off, make small adjustments to the bracket screws until it is centered. Check the main eyepiece after each tweak.
- Tighten any locking rings or screws once everything lines up.
After this two-step process, your finder and main scope agree. Finding objects now becomes a matter of aiming the finder dot at the target and then swapping your eye to the eyepiece.
Using the Finder to Actually Find Objects
Alignment alone does not make objects easy to find. Here is the workflow that works:
Start with a low-power eyepiece. A 25 mm or 32 mm eyepiece gives you the widest true field of view in the main scope, making it far more likely your target is somewhere in frame when you look up.
Use the finder to aim first, then check the eyepiece. Center the star or sky region in your finder, then look through the main scope. If the finder is well aligned, your target should be close to center, or at least in the field.
Account for the inverted image in an optical finder. If the star you want is above the crosshairs in an inverted-image finder, it is actually below center in the sky from the finder's perspective. This trips people up constantly at first. The trick: move the scope in the direction that moves the star toward the crosshairs, not in the direction you intuitively expect. After a few sessions it becomes second nature.
Parallax is real with red dot finders. If you move your eye away from the red dot finder's sweet spot, the dot appears to shift against the background sky, and you end up pointing the scope slightly off target. Keep your eye centered in the finder's window.
For objects too faint to spot in the finder, center a nearby bright star and then use your chart to nudge from there. This is star hopping at its most basic. A 5x or 8x optical finderscope helps here because you can actually see the star patterns you are hopping between.
Practical Tips for Each Finder Type
Red Dot Finders
- Batteries: Carry a spare CR2032 (or whatever your unit uses). A dead battery mid-session is frustrating, and many red dot finders have no low-battery indicator.
- Dew: On humid nights the optical window fogs over. A chemical hand warmer held near (not touching) the lens for thirty seconds clears it temporarily. A dew shield made from a strip of foam mat helps prevent it.
- Brightness: Dial the dot down as low as you can see it. A blazing red dot will eat your dark adaptation.
- Parking: Most have an on/off switch. Turn it off between targets if you are not moving the scope, and always off at the end of a session.
Optical Finderscopes
- Focus the finder separately. There is a focus ring near the eyepiece end of the finder. Focus it once (using a distant terrestrial object or the Moon) and tighten the lock ring. It rarely needs touching after that.
- Right-angle finders (with a 90-degree diagonal eyepiece) are much more comfortable when the scope is aimed high in the sky. Straight-through finders require contortion when pointing near the zenith.
- Illuminated-reticle versions add a battery-powered crosshair lamp for dark conditions. Useful but adds another battery to track.
When the Finder Is Not Enough
Some targets are genuinely beyond what any finder shows you directly. A 6th-magnitude globular cluster or a face-on galaxy will not appear in a 5x30 optical finder at a suburban site. That is where you star hop to a known position and then use the main eyepiece at low power. Averted vision also helps once the eyepiece is on target. The finder gets you to the right region; technique and patience do the rest.
Planning the order of your targets also matters. If you are switching between widely separated objects, re-centering on a nearby bright star before each hop keeps alignment errors from compounding. A clear night with steady seeing and a little pre-planning goes further than any equipment upgrade. Planning your session around moon phase and weather is worth doing before you step outside.
Frequently Asked Questions
How often do I need to re-align my finderscope?
Once aligned, a finder usually holds its adjustment for many sessions as long as you do not remove it from the scope or knock it hard. It is worth checking against a bright star at the start of any session where you plan to hunt faint objects, since even small knocks during transport can shift the alignment slightly.
My finderscope shows an upside-down image. Is that normal?
Yes, for a straight-through optical finderscope. The optics invert the image just as binoculars would if you removed their prisms. Right-angle finders correct the vertical flip but leave the image mirror-reversed. Neither version shows a "correct" orientation, which is why some beginners prefer red dot finders until they adjust.
Can I use a finderscope during the day?
For alignment purposes, yes. Never use any telescope or finder to look toward the Sun under any circumstances, even briefly. For aligning on a terrestrial landmark, stay well away from the Sun's direction.
My red dot is barely visible against the sky. What should I do?
A few things cause this. First, check that you are dark-adapted, which takes about fifteen to twenty minutes away from white light. Second, the dot may be too dim: try increasing the brightness slightly. Third, some red dot finders have a tinted or anti-reflection coating on the objective lens that works better in some sky conditions than others. Repositioning your head to find the sweet spot often makes the dot pop.
Do I need both a red dot finder and an optical finderscope?
Most people pick one and get good at it. The combination is useful if you do a lot of deep-sky work where star hopping through the finder saves time. Some mount a Telrad (wide zero-power bullseye) alongside a 8x50 optical finder to get the benefits of both. For a beginner scope, master whichever came with the telescope before adding a second finder.