Observing Skills
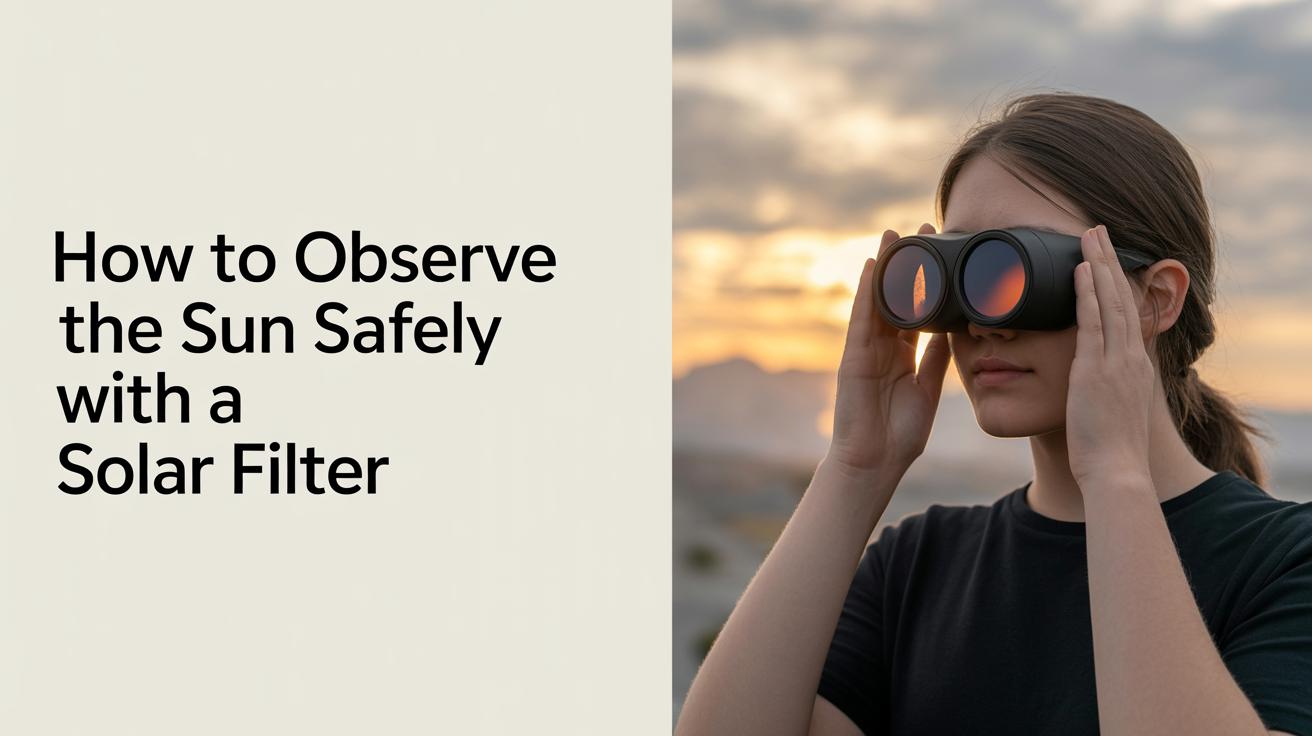
How to Observe the Sun Safely With a Solar Filter
Learn how to observe the sun safely with a solar filter. Covers white-light glass and film filters, finder scope capping, pinhole checks, and what you can see.
Solar observing is the one branch of amateur astronomy where a single mistake causes instant, permanent eye damage. Get the setup right, though, and the daytime Sun is one of the most active and rewarding targets a beginner can study.
The One Rule That Never Has an Exception
Never point a telescope, binocular, or finder scope at the Sun without a proper, undamaged, full-aperture solar filter fitted over the front of the instrument before you begin. Not a quick peek. Not "just for a second." The Sun concentrates enough light and heat to burn a hole through the retina faster than the blink reflex can protect you. There is no treatment and no recovery. The damage is permanent.
That rule has three important parts:
- Full-aperture means the filter covers the entire front opening (the objective lens or mirror end) of the telescope, not the eyepiece end.
- Undamaged means you inspect the filter for pinholes or tears every single time before use. More on this below.
- Before you begin means the filter goes on before the telescope is aimed anywhere near the Sun. You do not aim first and filter second.
Everything else in this guide builds on that foundation.
Choosing a White-Light Solar Filter
White-light solar observing covers the photosphere, the visible surface layer of the Sun. At this wavelength you can see sunspots, and under good seeing conditions hints of granulation, the texture of convection cells bubbling up from below. It is the most accessible and affordable entry point.
Glass Filters
Glass solar filters from makers such as Thousand Oaks Optical or Lunt Solar Systems are ground flat and coated with a metallic film. They are robust, hold their figure well, and the coatings are protected inside the glass sandwich. A good glass filter produces a sharp, neutral-white or pale-blue solar disk. They cost more than film filters but they last for decades with reasonable care.
Baader AstroSolar Film
Baader AstroSolar film is the most widely used solar filter material in amateur astronomy. You cut it to size and mount it in a cell sized to fit your telescope's dew shield or tube end. Pre-made cells are sold by many telescope accessory companies, or you can make a simple cardboard cell at home. The film itself is sold in sheets and rolls. It is optically excellent and cheap enough that you can afford to replace a suspect sheet without hesitation.
There are two densities of Baader film:
| Density | Transmission | Use |
|---|---|---|
| ND 5.0 (silver) | 1/100,000 | Visual observing |
| ND 3.8 (gold) | 1/6,300 | Photography only |
For visual observing, always use the ND 5.0 silver film. The ND 3.8 gold film is far too bright for the eye and is intended only for camera sensors with short exposures.
The Dangerous Alternative You Should Know About
Older telescopes sometimes ship with a small, dark glass filter that screws into the eyepiece barrel. These are sometimes called "sun caps" or "sun filters." Throw them away or set them aside permanently. Placed at the eyepiece, the filter sits at the hottest focal point of the telescope. The concentrated solar energy can crack the glass in seconds, sending the filter fragments out and the full beam of sunlight into your eye. No reputable manufacturer includes these in current products, but they still circulate with used equipment. If you find one, do not use it.
Setting Up Safely: A Pre-Observing Checklist
Going through a short checklist before every solar session takes about two minutes and removes the possibility of a careless mistake.
1. Cap or remove the finder scope first. This is easy to forget. A finder scope pointed at the Sun without a filter is just as dangerous as the main telescope. Your options are to fit it with its own solar filter, remove it from the scope entirely for daytime sessions, or cap it with an opaque dust cap. Fitting a small piece of Baader film over the finder's objective is the cleanest solution. If you want to understand how finderscopes work, see our guide to using a finderscope or red dot finder, but bear in mind that solar use always requires the filter-first rule.
2. Inspect the filter before attaching it. Hold the filter up to a bright indoor light. Look at the entire surface carefully. You are looking for pinholes, small tears, or any point of light transmission. Even a single pinhole is enough to cause eye damage. If you find one, do not use that filter. Baader film is inexpensive enough that a replacement sheet costs very little. Glass filters rarely develop pinholes, but scratches or chips near the edge need assessment before use.
3. Attach the filter before you move the telescope. Fit the filter snugly over the front of the tube. Most filter cells are sized to friction-fit. Give it a gentle tug to confirm it will not fall off during use. If it feels loose, add a strip of foam tape to the inside of the cell for a tighter grip.
4. Aim without looking through the eyepiece. Point the telescope in the general direction of the Sun by watching the shadow the tube casts on the ground. A short tube casts a roughly circular shadow when pointed directly at the Sun. Inch the tube around until the shadow is as compact and round as possible, then look through the eyepiece.
5. Keep the session short in high heat. Baader film filters in cardboard cells can soften in direct sunlight on hot days. Check that the cell stays firm throughout the session. Glass filters with proper metal cells have no such concern.
What You Can See Through a White-Light Filter
The Sun is rarely blank. Most of the time, you will find at least one sunspot group somewhere on the disk.
Sunspots are regions of intense magnetic field that suppress the normal convective flow of hot plasma. The central dark region, called the umbra, can be as large as the Earth or larger. The surrounding lighter region, the penumbra, has a fibrous streaked texture that becomes visible under good seeing. Sunspot numbers follow an approximately 11-year cycle, with activity at or near a maximum in the mid-2020s. That means the Sun is lively right now and a good target.
Granulation is the mottled texture of the photosphere caused by convection cells, each a few hundred miles across. Seeing it requires steady air, a telescope of at least 4 inches, and good atmospheric steadiness. Morning sessions before the ground heats up give the best chance.
Faculae are bright patches near the solar limb where magnetic concentrations push slightly hotter material above the surrounding photosphere. They are easiest to spot near the edge of the disk where the contrast is highest.
Going Further: H-Alpha and Dedicated Solar Scopes
White-light observing shows only the photosphere. The chromosphere, a layer just above it, is invisible in white light. To see prominences, the huge loops and arcs of plasma that erupt above the solar limb, you need a hydrogen-alpha filter that isolates an extremely narrow band of red light (656.3 nm).
Dedicated H-alpha solar telescopes such as the Lunt LS50 or the Coronado PST use an etalon system to achieve this narrow bandwidth. Entry models start at several hundred dollars. Prominences, filaments, and surface detail in the chromosphere are all visible. These scopes are purpose-built with safe filtering integrated into the design. Do not attempt to build an H-alpha filter from hobby materials.
For most beginners, a Baader film white-light filter fitted to the telescope you already own is the right starting point. It costs under twenty dollars, installs in minutes, and will show you real solar structure immediately.
Frequently Asked Questions
Can I use welding glass to observe the Sun? Only shade 14 glass is considered safe for direct solar viewing, and most welding shops stock shade 9 to 12. Even shade 14 is awkward to fit over a telescope and does not correct for optical quality. A Baader film filter is cheaper, safer, and optically better.
What happens if the solar filter falls off during observing? The view through the eyepiece goes instantly, blindingly bright. Look away immediately and close your eyes. If you were only looking for a fraction of a second, you may have no lasting damage, but you should have your eyes checked by an ophthalmologist. To prevent this, always check the filter fit before use and never leave the telescope unattended with children nearby.
Do I need a solar filter to observe the Sun during a total solar eclipse? Only during the brief period of totality, when the Moon completely covers the solar disk, is it safe to look without a filter. The moment any part of the Sun's photosphere reappears, you need the filter back on. Partial phases require a solar filter at all times. Eclipse glasses with ISO 12312-2 certification are safe for naked-eye viewing during partial phases, but they are not designed for use with a telescope.
Can I photograph the Sun through a solar filter? Yes, using the ND 5.0 Baader film for visual use or ND 3.8 if your camera's exposure is 1/500 second or shorter. For general photography through a DSLR or mirrorless camera, the ND 5.0 film works well at most ISO settings. The same fitting and inspection rules apply. The camera sensor, like the eye, can be damaged by direct solar exposure.
My finderscope has a red dot sight, not a lens. Does it still need to be capped? A non-magnifying red dot finder with a transparent window does not concentrate light the way an optical finder does, so the risk is lower. That said, looking into any optical device pointed at the Sun without a filter is dangerous. The safest habit is to cap it anyway. It takes two seconds and removes any ambiguity. Skills like star-hopping to find faint objects are built on consistent, careful technique, and solar observing is no different.