Telescopes & Gear
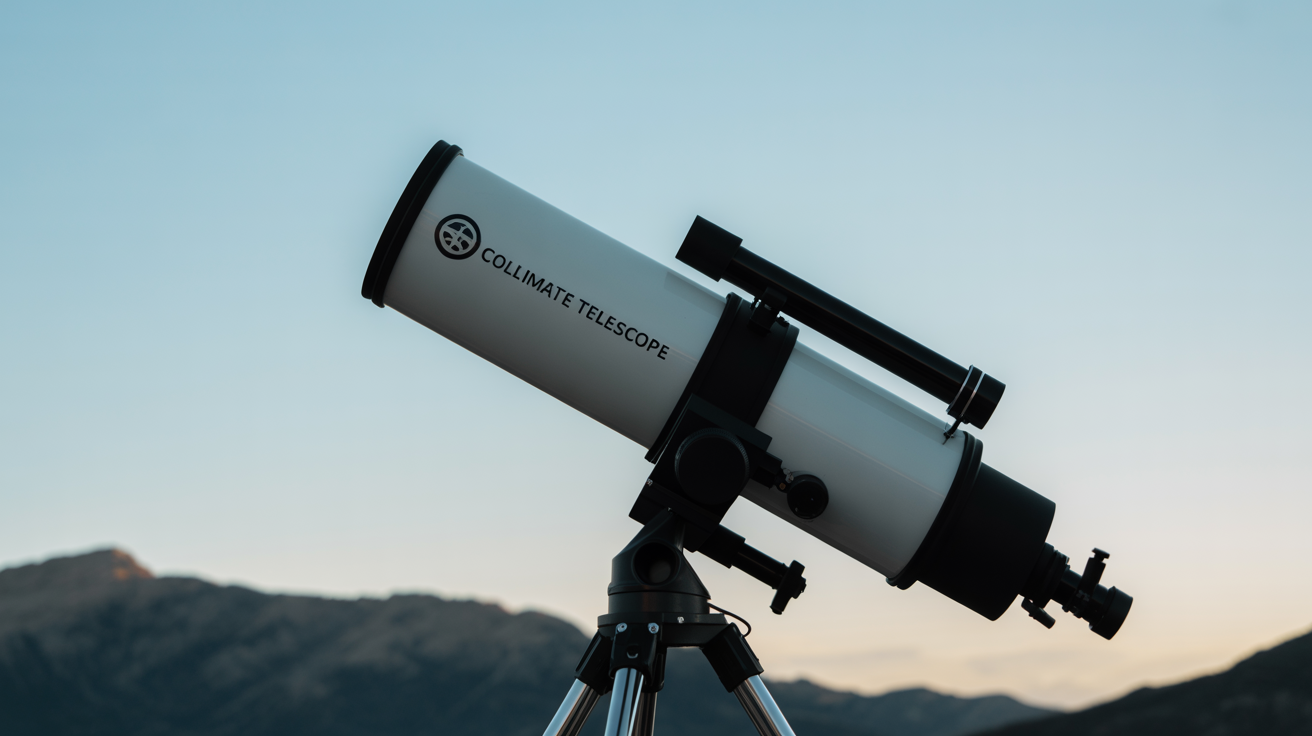
How to Collimate a Reflector Telescope
Learn how to collimate a telescope step by step. This beginner guide covers tools, secondary and primary mirror adjustment, and a star-test check.
Collimation is the process of aligning a telescope's mirrors so they work as a single optical system. If your reflector's images look soft, fuzzy on one side, or stars trail into a comet shape, the mirrors are probably out of alignment, and collimation fixes that in about ten minutes.
What Collimation Actually Is
A Newtonian reflector uses two mirrors: a large curved primary at the bottom of the tube, and a small flat secondary mounted near the focuser. Light from the sky hits the primary, reflects up to the secondary, and the secondary redirects it sideways into your eye. For that chain to produce a sharp image, all three optical axes must share a single centerline.
When they do, the view is crisp across the whole field. When they do not, the image is degraded in ways no amount of eyepiece swapping will fix. No matter how much you spend on eyepieces, a misaligned mirror ruins the view.
Understanding this explains why collimation matters before every serious session, not just once when you unbox the scope. A bumpy car ride, a dropped tube, or even setting the telescope down hard can shift the mirrors enough to blur fine planetary detail.
Why Newtonians Drift Out of Alignment
Dobsonians and other Newtonians rely on spring-loaded or nylon-tipped bolts to hold the mirrors. Those adjusters are designed to move, which is exactly what makes the mirrors collimatable, but it also means they can shift. A few common causes:
- Vibration during transport
- Temperature swings that expand and contract the tube
- The focuser drawtube catching the secondary holder when racked in too far
- Simple time and gravity working on a loosely tensioned adjuster
Dobsonians are especially prone to needing a quick touch-up each session because their altitude bearings put stress on the tube at different angles depending on where you point. Building a two-minute collimation check into your setup routine removes the guesswork about whether the previous night's image was soft because of seeing or because the scope was out.
Collimation Tools
You do not need an expensive gadget to collimate a Newtonian, but having the right tool makes the job faster and more repeatable.
Collimation Cap
A collimation cap is a simple plastic or metal plug that fits into your focuser drawtube. It has a small hole in the center. You look through that hole, which forces your eye to always be in the same spot. This consistency is what makes the cap useful: small shifts in your viewing position change what you see when the eyepiece is out, so the cap removes that variable. Cost is typically under ten dollars, and it is all most beginners need.
Cheshire Eyepiece
A Cheshire is a step up from the cap. It has a reflective angled surface inside that throws a circle of light down the tube when the tube is pointed at a bright wall or the sky. You see the primary mirror's reflection in the Cheshire's crosshair, which makes centering more precise. If you plan to collimate frequently, or if you find the plain cap tricky to read, a Cheshire is worth owning.
Laser Collimator
A laser collimator shines a red dot down the tube and shows a return dot on a target plate in the eyepiece barrel. When the dot lands in the center, the mirrors are aligned. Laser collimators are fast and very popular, but cheap ones can be out of collimation themselves, meaning the laser is not truly centered in the barrel. Before trusting any laser, verify it against a star test or a Cheshire. A self-centering laser that rotates in the drawtube to check its own alignment is more reliable than a fixed one.
For telescope collimation for beginners, start with a collimation cap. The feedback is easy to read once you know what a correctly collimated view looks like, and you cannot accidentally throw off your work by bumping a battery-powered device.
Step-by-Step Daytime Collimation
Do this in shade or indoors with the scope pointing at a flat white surface or overcast sky, not the sun.
Step 1: Center the Secondary Mirror Under the Focuser
Remove the eyepiece and look straight down the focuser tube. The secondary mirror should appear centered in the drawtube's circular opening. If it is off to one side, adjust the central bolt on the secondary holder (the one that moves the whole secondary along the tube axis) until the oval mirror appears round and centered. Do not touch the three tilt bolts yet.
Step 2: Center the Primary's Reflection in the Secondary
With the collimation cap in place, look through the hole. You should see a series of nested circles:
- The outer circle: the focuser tube
- Inside that: the secondary mirror
- Inside that: the reflection of the primary mirror
- Inside that: the reflection of the secondary (a small donut shape at the center)
Your goal in this step is to make circles 2, 3, and 4 all share the same center. Adjust the three tilt bolts on the secondary holder (not the central bolt) to shift the secondary's angle until the primary reflection appears centered inside it. Work one bolt at a time in small increments.
Step 3: Center the Primary Mirror's Reflection of the Secondary
Now adjust the primary mirror's three collimation bolts, located at the back of the tube. These tilt the primary. Turn them until the small secondary reflection you see in the center of the primary reflection lands exactly at the primary's center mark, which is a small ring sticker applied at the factory.
Loosen one bolt while tightening the opposite to tilt the mirror without changing its distance from the focuser. Most scopes have two spring-loaded bolts and one locking bolt per adjuster pair; others use three evenly spaced bolts. Check your scope's manual if you are unsure which to turn first.
Step 4: Recheck From the Top
After adjusting the primary, look through the collimation cap again. Adjusting the primary often disturbs the secondary alignment slightly. Go back and forth between secondary and primary adjustments in decreasing increments until all circles are concentric.
Five to ten minutes is normal for a first attempt. With practice, most people get it done in three minutes.
The Star Test
Daytime collimation gets you close. A star test at night confirms you are there.
Point the scope at a moderately bright star, roughly second to fourth magnitude. Let the scope cool for at least twenty minutes so the tube temperature matches the outside air. Put in an eyepiece at medium power, around 150x to 200x on a typical 6-inch reflector.
Rack the focuser slightly inside and outside focus. You will see rings of diffraction light, called the out-of-focus disk. A well-collimated scope shows concentric rings centered on the same point both inside and outside focus. If the rings are off-center, or if the inside and outside patterns look different, the mirrors still need adjustment.
A small deviation is common and acceptable for casual viewing. For high-power planetary work, go back and make fine adjustments until the rings are concentric. Most of the time a quick tweak of one primary bolt while watching the out-of-focus disk directly is all that is needed.
Understanding aperture and its relationship to magnification also helps here: higher magnification demands tighter collimation, so a scope that looks fine at 75x may show flaws at 200x.
How Often Should You Collimate?
For a scope that stays home and is handled gently, a check once a month is usually enough. For a scope that travels in a car or gets set up on grass or gravel where it might be knocked, check before every session. It takes two minutes once you are practiced, and the difference in image quality on planets and double stars is noticeable.
If you are choosing your first telescope, knowing that reflectors need occasional collimation is worth factoring in. It is not a flaw; it is a small maintenance task that refractors skip but pay for with a smaller aperture at the same price.
Frequently Asked Questions
Does collimation go off during a session? Rarely during a single night, unless you move the scope or it is bumped. If you notice images degrading, check for tube thermals first: let the scope continue cooling and avoid breathing across the eyepiece.
Can I collimate in the dark at the eyepiece? With a laser collimator and a red flashlight, yes. Most observers do a quick daytime rough collimation, then do a final star-test tweak at the beginning of the session.
What if my scope has no center mark on the primary? Some budget scopes ship without one. You can apply a small ring of white label tape or a pen-traced circle at the geometric center. Mark the back of the mirror, not the reflective surface. The center is found by measuring the mirror's diameter and locating the midpoint.
My rings look good but images are still soft. What else could it be? Tube thermals are the most common culprit. The tube needs time to reach outside temperature; a mirror that is warmer than the air creates turbulent air currents inside the tube. Ground heat shimmer and poor atmospheric seeing are also common causes that have nothing to do with the scope.
Do refractors need collimation? Achromatic and apochromatic refractors are factory collimated and rarely need adjustment. If a refractor is knocked hard, the lens cell can shift, but it requires a different adjustment process than a Newtonian's mirror system.