Astrophotography
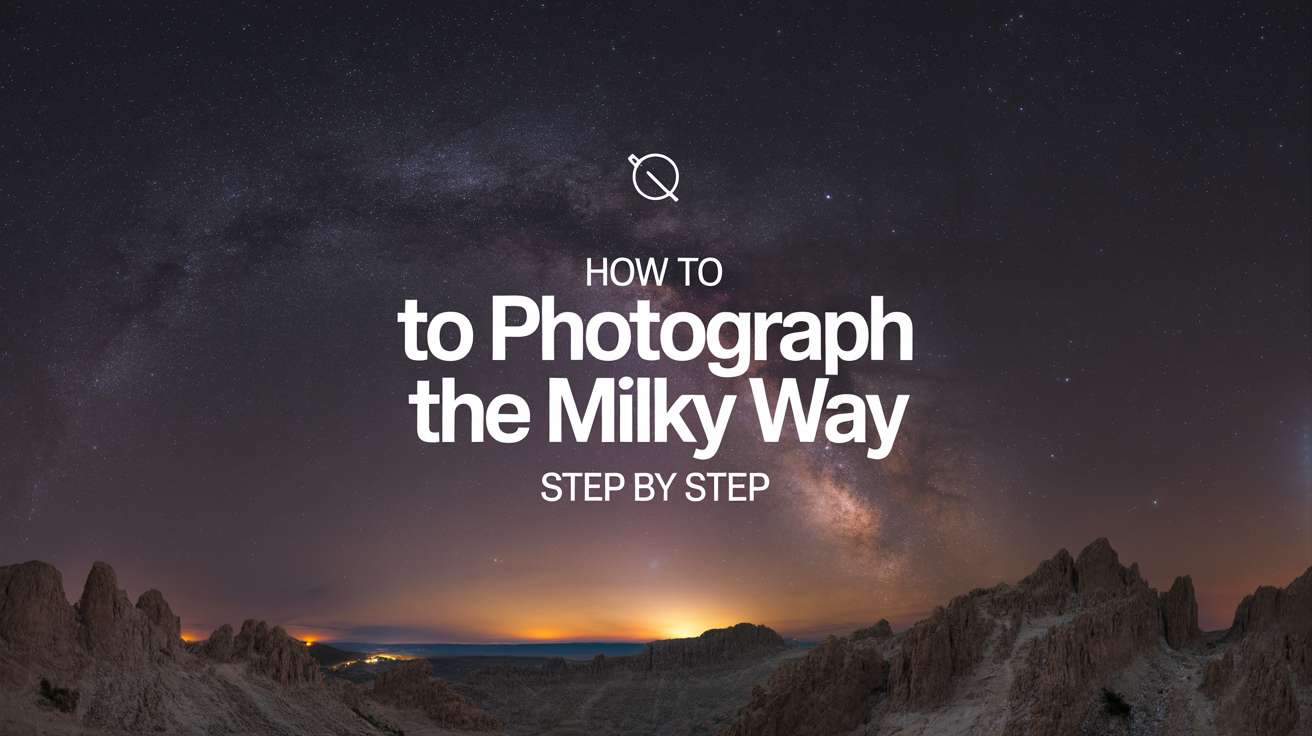
How to Photograph the Milky Way Step by Step
Learn how to photograph the Milky Way with the right gear, camera settings, and planning tips. A beginner-friendly guide with a concrete settings table.
You can capture a sharp, detailed photo of the Milky Way core with a basic mirrorless or DSLR camera, a fast wide-angle lens, and a sturdy tripod. The technique is learnable in one night once you understand what your camera actually needs.
What Gear You Actually Need
You do not need an expensive tracking mount or a dedicated astronomy camera to get a compelling Milky Way photo. Three items carry almost all the weight.
A camera with full manual mode. Any mirrorless or DSLR that lets you set shutter speed, aperture, and ISO independently will work. Newer crop-sensor cameras like the Sony a6000 series, Canon Rebel line, or Nikon Z30 all produce clean images at ISO 3200, which is where you will be shooting. Full-frame sensors handle higher ISO values with less noise, but they are not required for a beginner.
A fast wide-angle lens. This is the single biggest factor in your image quality. "Fast" means a wide maximum aperture: f/2.8 is the practical minimum, and f/1.8 or f/2 is noticeably better because each half-stop lets in significantly more light. The focal length should be wide enough to capture a large section of sky: 14mm to 24mm on a full-frame body, or 10mm to 18mm on a crop sensor. Samyang (also sold as Rokinon) makes sharp, affordable manual-focus lenses in the 14mm f/2.8 range that are popular for this purpose. See the astrophotography for beginners guide for a rundown of budget-friendly lens options.
A sturdy tripod. Any tripod that holds your camera still during a 15-to-25-second exposure will do. Carbon fiber is lighter but not necessary. Use a remote shutter release or your camera's 2-second self-timer to avoid vibration when pressing the shutter button.
How to Set Your Camera
Every Milky Way photo involves the same tension: you need enough light to capture the faint structure of the galaxy, but you cannot let the stars streak across the frame from Earth's rotation. The exposure length, ISO, and aperture all have to work together.
The 500 Rule for Shutter Speed
Stars move. Earth rotates, so if your exposure is too long, you will see short streaks instead of points. The 500 rule gives you a quick maximum shutter speed:
Max shutter (seconds) = 500 / focal length
For a full-frame camera at 20mm: 500 / 20 = 25 seconds. For a crop-sensor camera (1.6x crop factor), multiply your focal length first: 500 / (20 x 1.6) = 500 / 32 = about 15 seconds.
If you want tighter, rounder stars, use 300 in place of 500. This is called the 300 rule and is a safer starting point on crop sensors or when you plan to print large.
For more precision, the NPF rule accounts for pixel density and aperture, but the 500 rule is accurate enough to get started.
Aperture and ISO
Set your lens to its widest aperture (f/1.8, f/2, or f/2.8). Do not stop down. Every bit of light matters.
For ISO, start at 3200. If your images look underexposed, raise it to 6400. Modern full-frame cameras produce usable files at ISO 6400 and even 12800. Crop sensors generally peak around 3200 to 6400 before noise becomes a problem. Shoot RAW, not JPEG, so you have the flexibility to control noise reduction in post-processing.
Focus to Infinity
This is where many beginners get stuck. Autofocus does not work in the dark. You need to focus manually.
Switch your lens to manual focus. During daylight, focus on a distant object (a tree on the horizon, a building), then note where your focus ring sits. Some lenses have an infinity mark (the sideways figure-eight symbol), but many modern lenses overshoot infinity, so that mark is not always accurate.
At night, the best method is live view. Zoom in on a bright star on your camera's LCD at 5x to 10x magnification. Slowly turn the focus ring until the star is the smallest, sharpest point you can get. Lock your focus ring with tape if your lens has no hard stop.
Starting Settings Reference Table
| Setting | Starting Value | Notes |
|---|---|---|
| Mode | Manual (M) | Full control required |
| Aperture | Widest available | f/1.8, f/2, or f/2.8 |
| Shutter speed | 500 rule result | 15-25 seconds depending on focal length |
| ISO | 3200 | Raise to 6400 if too dark |
| Focus | Manual, infinity | Use live view on a bright star |
| White balance | 3800K or Daylight | Adjust in post if shooting RAW |
| Format | RAW | Gives more editing latitude |
| Drive mode | 2-second timer or remote | Prevents vibration |
Take one test shot, zoom into the stars on your LCD at full magnification, and check for streaking or blur. Adjust shutter speed or focus as needed before shooting more frames.
Planning Your Shoot
Good gear and correct settings still produce a disappointing photo if you show up at the wrong time or place.
Time Your Shoot Around the Moon
The Moon is the biggest obstacle to Milky Way photography. Even a quarter moon washes out the faint detail in the galactic core. Plan your session within a few days of the new moon, when the moon is below the horizon or rises very late. Apps like PhotoPills, Stellarium, and The Photographer's Ephemeris show the moon phase and rise/set times for any date and location.
Know the Milky Way Season
The Milky Way is visible year-round, but the bright galactic core (the densest, most photogenic section toward Sagittarius) is only above the horizon during a specific seasonal window. From mid-latitudes in the Northern Hemisphere (roughly 30 to 50 degrees north), the core is well-placed from late April through late September. It rises in the southeast after dark in May and June and is highest in the sky around midnight in July and August.
Outside this window you can still photograph the outer arm of the Milky Way stretching across Perseus and Auriga in winter, but the core, with its dense star clouds and dark lanes, is a warm-weather target.
Pick a Dark Location
Light pollution is the other major obstacle. From inside a city or suburb, the sky glow from streetlights overpowers the Milky Way entirely. You need to get away from that glow.
The Light Pollution Map at lightpollutionmap.info shows dark-sky areas near you. Look for Bortle 4 or lower (shown in green). Bortle 4 skies let you see the Milky Way clearly with the naked eye, and your camera will capture it well. Bortle 3 and lower are better but often require driving an hour or more from any city. When you arrive, give your eyes 20 to 30 minutes to dark-adapt. The sky will look noticeably darker once your vision adjusts.
Basic Editing in Lightroom or Darktable
A raw Milky Way image looks flat and somewhat noisy straight from the camera. A few targeted adjustments bring out the structure.
- Raise Exposure or Shadows to lift the dim galactic dust lanes.
- Lower Highlights to recover any blown-out foreground elements.
- Increase Clarity and Texture to bring out fine star detail and nebulosity.
- Use Luminance Noise Reduction to smooth out the grain that comes with high ISO. Start around 30-50 and increase carefully to avoid smearing star detail.
- Adjust White Balance cooler (toward blue) if the sky looks too orange from residual light pollution, or warmer if you prefer a more natural look.
- Boost Dehaze slightly to increase contrast in the galaxy core.
The goal is to make the photo look like what you saw, not a NASA Hubble image. Subtle edits that preserve the natural structure of the sky almost always look better than heavily processed composites. Once you are comfortable with single-frame shooting, image stacking (combining multiple exposures to reduce noise) is a natural next step.
Frequently Asked Questions
Do I need a tracking mount to photograph the Milky Way? No. Tracking mounts keep the stars perfectly still over long exposures, which is useful for deep-sky astrophotography with a telescope. For wide-angle Milky Way photography, the 500 rule gives you a long enough exposure (15-25 seconds) to capture the galaxy in a single untracked shot.
What ISO is best for Milky Way photography? Start at ISO 3200. Full-frame cameras can often go to ISO 6400 without unacceptable noise. Crop-sensor cameras vary, but most handle 3200 well. Always shoot RAW so you can apply noise reduction in editing.
Can I use a kit lens for Milky Way photography? A kit lens (typically 18-55mm f/3.5-5.6) can capture the Milky Way, but results will be noticeably darker and noisier than a fast prime. If you can borrow or rent a 50mm f/1.8 or wider prime lens with a maximum aperture of f/2.8 or better, you will see a clear difference.
How do I find the Milky Way core? It stretches across Sagittarius and Scorpius in the south to southeast sky from late spring through early autumn in the Northern Hemisphere. If you can locate the teapot shape of Sagittarius, the "steam" rising from the spout points directly into the core. Apps like Stellarium or SkySafari show its exact position for any date, time, and location.
What is the difference between the 500 rule and the NPF rule? The 500 rule is a quick mental calculation: 500 divided by your focal length. The NPF rule is more accurate and accounts for pixel density and aperture. For a beginner, the 500 rule is close enough. Once you plan to print large or crop heavily, the NPF rule is worth looking up.
If you are just starting out in astrophotography, the astrophotography for beginners guide covers gear choices from scratch. Once you have your Milky Way shots, how to shoot star trails is a natural next step that uses the same setup with longer exposures.