Telescopes & Gear
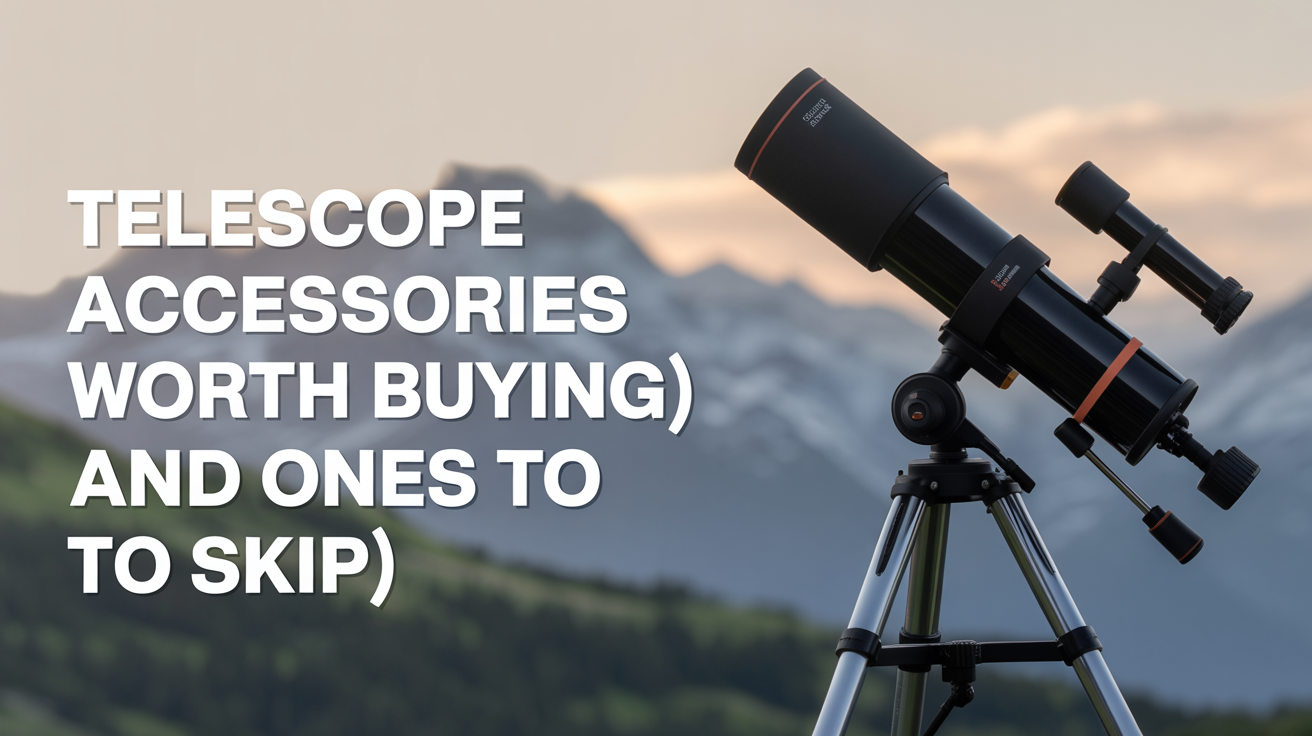
Telescope Accessories Worth Buying (and Ones to Skip)
A plain guide to telescope accessories for beginners: what actually helps at the eyepiece, what's nice but optional, and what to ignore entirely.
Most beginners buy a telescope and then immediately wonder what else they need. The honest answer is: not much, at least not right away. A few well-chosen additions will make every session more comfortable and productive. Everything else can wait, or stay on the shelf forever.
The Accessories That Are Actually Worth Buying
These are the items that will make a direct, noticeable difference from your very first session. None of them are expensive, and all of them solve real problems.
A Red Dot Finder (or Telrad)
The finder scope that ships with most beginner telescopes is often a small optical finder with a narrow field of view and a dim reticle. It works, but many beginners find it harder to use than it should be.
A red dot finder projects a small illuminated dot onto a see-through glass window. You look through the window with both eyes open, and the dot sits right on the sky. Because you see the natural, wide field of stars around it, aiming at a target becomes much more intuitive. The Rigel QuikFinder and the Celestron StarPointer are common choices. A Telrad is a larger version that projects a set of concentric rings instead of a single dot, which some observers find even easier to use for star-hopping.
Either option costs $20 to $40 and mounts on a small base you stick to your telescope's tube. It is one of the first upgrades most experienced observers would recommend.
Two or Three Extra Eyepieces
Your telescope almost certainly came with one or two eyepieces, often a wide-field low-power one and a short-focal-length high-power one. That covers the basics, but a small set of eyepieces covering different magnifications gives you real flexibility.
For most beginners, three focal lengths cover nearly every situation: a low-power wide-field eyepiece (around 32mm to 40mm) for sweeping clusters and finding objects, a medium eyepiece (around 15mm to 20mm) for general viewing of planets and brighter deep-sky objects, and a higher-power eyepiece (around 8mm to 10mm) for nights when the atmosphere is steady enough to push the magnification on planets or the Moon.
You do not need to buy all of these at once. Start by identifying which magnification range your current kit is missing, then fill that gap first. Brands like Celestron, Orion, and Agena offer decent beginner-level eyepieces in the $25 to $60 range. Understanding how magnification and aperture interact before you buy will help you choose wisely; the guide on aperture vs magnification explains the relationship clearly.
A Collimation Cap
If you own a reflector or a Dobsonian, collimation is part of regular maintenance. The mirrors drift out of alignment over time, and observing with a misaligned telescope means blurry stars and soft planetary detail even when the sky is steady.
A collimation cap is a small plastic cap that fits in your focuser and has a pinhole in the center. You look through it to check whether the mirror reflections are centered on each other. They cost $5 to $10 and teach you the basics of collimation without any electronics. A laser collimator does the same job faster once you know what you are doing, but the cap is fine for learning the process.
If you have a refractor, you can skip this entirely. Refractors hold collimation on their own.
A Red Flashlight
Your eyes need around 20 to 30 minutes in darkness to reach their full sensitivity to faint light. A white flashlight destroys that adaptation in seconds. A red light, by contrast, lets you read a star chart or adjust an eyepiece without ruining your night vision.
You can buy a small red LED flashlight for $5 to $10, or get a regular flashlight with a red mode. Some observers just tape red cellophane over a cheap flashlight. Whatever method you use, keeping it dim is more important than the color; a blinding red light still hurts your night vision.
An Observing Chair or Stool
This one gets skipped more often than it should. Long sessions at the eyepiece are uncomfortable when you are constantly crouching or stretching to reach the focuser, especially with a Dobsonian as it moves to different parts of the sky.
A simple adjustable stool lets you sit at the right height for wherever the focuser happens to be. Astronomy-specific observing chairs exist and are well-made, but a basic adjustable work stool from a hardware store does the job at a fraction of the price. If you find yourself cutting sessions short because your back aches, this is the fix.
Nice to Have, But Not Urgent
These are genuine additions to your observing toolkit, but they solve problems you may not have yet. Buy them when the need becomes clear.
A Moon Filter
The Moon is a spectacular target, but at full phase through a medium or large aperture, it is bright enough to be uncomfortable and washes out fine surface detail. A Moon filter screws into the eyepiece barrel and cuts the brightness.
Moon filters cost $10 to $20 and work well. The caveat is that you may find a narrow field of view at lower magnification manages the brightness fine anyway. Many observers use a Moon filter regularly; others never bother. Buy one if the brightness is bothering you.
A Barlow Lens
A Barlow is a lens that doubles or triples the magnification of any eyepiece placed into it. In theory, one Barlow turns three eyepieces into six different magnifications.
In practice, Barlows are most useful when you already have a well-matched set of eyepieces and want to push higher on the best nights. A cheap Barlow can degrade the image noticeably. If you are considering one, spend at least $30 to $40 on a reputable brand (Celestron Omni, Orion Shorty) rather than the $8 version bundled with some telescope packages.
Accessories to Skip
These show up regularly in beginner searches and accessory bundles. Most of them will not help.
Cheap Colored Filter Sets
Accessory kits sometimes include a set of colored filters: red, yellow, green, blue, and a few others. These are based on genuine observing techniques; planetary observers do use color filters to enhance contrast on specific features. But the filters in budget sets are often poorly made, and the technique requires some experience to apply usefully.
More importantly, a beginner will almost always get more from better technique and darker skies than from colored glass. Set these aside until you have enough experience to know which filter color addresses a specific thing you are trying to see.
"400x Zoom" and High-Magnification Claims on Budget Eyepieces
Magnification is limited by your telescope's aperture, not by the eyepiece. A 4-inch refractor cannot usefully deliver 400x regardless of what the eyepiece box says. Very high magnifications also require very steady air, which most suburban backyards cannot provide most nights.
Eyepieces marketed primarily on maximum magnification are almost always poor performers. A well-made 10mm eyepiece from a reputable brand will outperform a cheap "super zoom" at every magnification setting.
Gimmicky Add-Ons
Laser pointers attached to the tube, illuminated reticle eyepieces intended for telescope-guided photography (not the same as a red dot finder), motorized focusers for visual observing on non-driven mounts, and similar gear adds complexity and cost without improving what you actually see.
Keep your setup simple until you know which specific problem you are trying to solve. The best upgrade for most beginners is more time under the sky with the equipment they already have.
Building Your Accessory Kit Over Time
The order that makes sense for most beginners: start with the red flashlight (cheapest, most universally useful), then add the red dot finder or Telrad, then fill the most obvious gap in your eyepiece set. Add collimation tools only if you own a reflector. The observing chair comes when you notice you need it.
Everything else can wait until a specific observing problem points you toward the solution. Before you buy anything new, it is worth checking whether your telescope type and optical design actually benefit from the accessory. The guides on how to choose your first telescope and telescope types explained give useful background on which features matter for different designs.
Frequently Asked Questions
Do I need a Barlow lens as a beginner? Not urgently. A Barlow is most useful once you have a small set of eyepieces and want to extend your magnification range on good nights. As your first or second accessory purchase, filling an obvious gap in your eyepiece set will usually help more.
What is the difference between a red dot finder and a Telrad? Both project an illuminated pattern onto a see-through window so you can aim with both eyes open. A red dot finder shows a single dot; a Telrad shows a set of concentric rings at known angular sizes (0.5, 2, and 4 degrees). The rings make it easier to star-hop using printed charts that show those same ring sizes. Either works well; the Telrad is larger and some observers find it more precise.
Is a Moon filter necessary? No, but it is useful. On nights when the Moon is bright enough to be uncomfortable at the eyepiece, a filter cuts the glare and can reveal more surface contrast. At lower magnifications or with smaller apertures, the brightness is often manageable without one. At around $15, it is worth owning if you observe the Moon regularly.
How many eyepieces do I actually need? Three covers almost every situation: one low-power wide-field eyepiece for finding and sweeping, one medium for general use, and one higher-power for planets and the Moon on steady nights. Two is enough to start. More than four or five is rarely justified for visual observing.
Can I collimate my telescope myself? Yes, for most telescopes it is straightforward once you have done it once or twice. Reflectors and Dobsonians benefit most and need collimation checked regularly, especially after the scope has been moved or transported. A collimation cap is enough to learn the process. Detailed instructions are usually included with the telescope or available from the manufacturer; the process takes about five minutes when you are used to it.