Astrophotography
How to Photograph the Moon (Even With a Phone)
Learn how to photograph the moon with any camera or phone. Settings, timing, and technique tips to stop shooting a blown-out white blob.
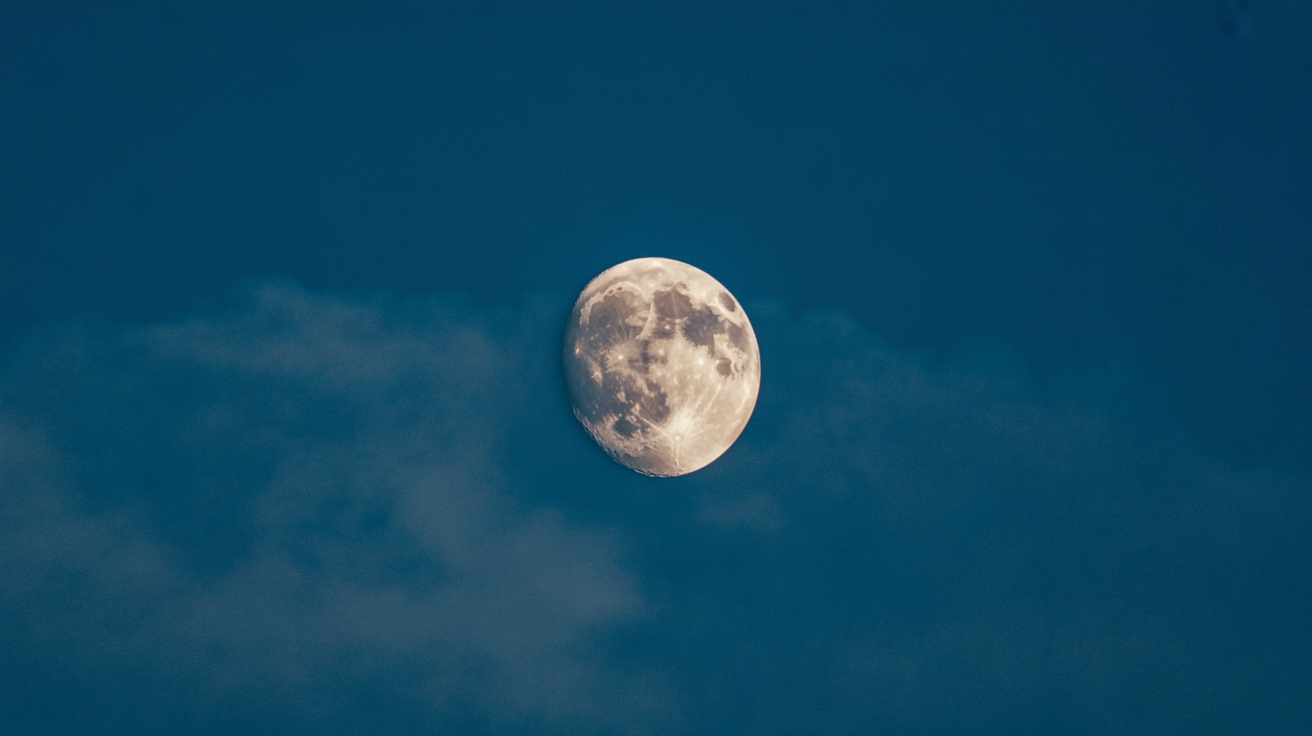
Pull up your phone on any clear night, point it at the full Moon, and you'll almost certainly get the same result everyone gets: a featureless white blob floating in black. That's not your equipment failing you. It's a settings problem, and it's fixable with a few minutes of reading.
The Moon is surprisingly bright. It's lit by direct sunlight, which means it calls for daylight exposures, not night photography exposures. Once that clicks, everything else follows.
Why the Moon Is So Hard to Expose Correctly
Most cameras and phones meter for the overall scene. They see a dark sky and push the exposure up to compensate, which obliterates detail on the Moon's surface. The same thing happens if you tap a dark part of the sky on your phone screen instead of tapping the Moon itself.
The fix is to meter directly on the Moon, then deliberately underexpose slightly. This preserves the subtle texture of craters and ridges that makes a lunar photo worth keeping.
There's also a timing issue. Most people shoot the full Moon because it looks dramatic, but the full Moon is actually the worst phase for surface detail. When the Sun shines straight down on the lunar surface, shadows disappear and the whole disk looks flat. The best detail appears near the terminator, the line dividing the lit and unlit halves, where long shadows throw craters and mountain ranges into sharp relief. First or last quarter phases give you the richest texture.
Moon Photography Settings for DSLR and Mirrorless Cameras
A useful starting point is the Looney 11 rule: set your aperture to f/11, ISO to 100, and shutter speed to 1/100s. That's it. From there you can fine-tune by a stop in either direction depending on atmospheric haze and your local sky conditions.
Practical settings to try first:
- ISO: 100 (or your camera's lowest native ISO)
- Aperture: f/8 to f/11
- Shutter speed: 1/125s to 1/250s
- White balance: Daylight or Sunny (the Moon reflects sunlight, after all)
Shoot in RAW if your camera supports it. JPEG processing often crushes the subtle mid-tones on the lunar surface. A RAW file gives you room to pull back highlights and lift shadow detail in post without the image falling apart.
Use a tripod. At 400mm or longer, even a small vibration will blur the image. Pair it with either a remote shutter release or your camera's two-second self-timer so pressing the shutter button doesn't introduce shake.
Understanding how aperture, ISO, and shutter interact at night will make these adjustments second nature faster than any single article can.
Moon Photography on a Phone
Modern phones handle the Moon better than they did five years ago, but they still fight you by default. The computational photography modes designed to brighten night scenes will wreck a lunar shot.
What to do on any recent smartphone:
- Open your camera and tap directly on the Moon to set focus and exposure there, not on the sky around it.
- After tapping, drag the exposure slider (the sun icon on iPhone, the brightness bar on most Android phones) down until the Moon looks just slightly dimmer than you'd expect. That's the right exposure.
- Use your longest optical zoom if available. Digital zoom just enlarges a blurry image. Crop in post instead.
- Use a tripod or prop the phone solidly against a wall, fence, or car roof. Activate the self-timer so you're not holding it when the shutter fires.
For sharper control, look for a Pro or Manual mode in your phone's camera app (available on most Samsung Galaxy phones, Pixel phones via Camera by Google's Pro mode, and many others). In Pro mode, set ISO to 50 or 100 and choose a shutter speed around 1/125s. Manual focus helps too: if your phone has it, push focus to infinity rather than letting autofocus hunt.
Some phones have a dedicated Moon mode (notably certain Samsung models). These work reasonably well for a quick shot but rely on AI processing that sharpens a Moon-shaped template onto your image. It looks convincing but it's not photographing real detail.
Photographing the Moon With a Telescope
A telescope opens up genuine close-up work. Even a small 70mm refractor at 100x magnification fills the frame in a way no phone zoom can.
The most accessible approach is afocal photography: hold your phone camera up to the telescope eyepiece and shoot through it. This works better than it sounds, especially if you use a phone adapter that mounts the phone over the eyepiece and keeps alignment steady. Tap to expose on the Moon, lower the exposure slider, and fire with the self-timer. You'll want a low-power eyepiece to start (25mm or 32mm) because high magnification amplifies atmospheric shimmer.
For DSLR or mirrorless shooters, prime focus is cleaner: remove the eyepiece, attach a T-ring adapter to the telescope focuser, and mount the camera body directly. The telescope acts as a long telephoto lens. A 1000mm focal length telescope at prime focus gives you image scale that shows crater detail you can't get any other way. Use live view to focus, zoom in to 10x magnification on the live view display, and adjust the focuser until a crater rim looks sharp.
If you're new to astrophotography generally, a 70–80mm refractor or a 5-inch Cassegrain is a reasonable starting point before committing to a larger tracking mount.
Stacking: Getting Sharper Results From Multiple Frames
A single lunar photo has limits. Atmospheric turbulence, called "seeing," blurs fine detail even on a good night. One technique that genuinely works is shooting a short video (30 seconds to a few minutes) and then using free stacking software to align and combine the sharpest frames.
Registax and AutoStakkert are both free, both widely used, and both designed exactly for this. The workflow is simple: shoot a video at around 1/250s per frame in continuous burst or video mode, import into the software, let it rank frames by sharpness, select the top 20–30 percent, and stack them. The result is noticeably sharper than any single frame.
This is the same technique planetary imagers use for Jupiter and Saturn. The Moon, being large and bright, is actually easier than any planet to work with.
If you enjoy the process of tracking and stacking, the same patience applies to star trail photography, which stacks differently but shares the same logic of combining many frames to improve a final result.
Frequently Asked Questions
What is the best phase to photograph the Moon?
First quarter or last quarter. At these phases the terminator cuts across the center of the disk and casts long shadows across crater rims and mountain ranges, revealing surface texture that's completely invisible at full Moon. Full Moon is good for brightness and seeing the complete disk, but for detail, quarter phases win.
Why does my Moon photo come out as a bright white blob?
The camera is overexposing. Either it metered on the dark sky around the Moon, or the camera's automatic night mode pushed the exposure up. Tap directly on the Moon to meter there, then drag the exposure compensation down. On a dedicated camera, try f/11, ISO 100, 1/125s as a starting point.
Do I need a telescope to get a good Moon photo?
No. A 200–400mm telephoto lens on a DSLR or mirrorless camera at ISO 100 produces excellent results. Even a phone on a tripod with Pro mode engaged and exposure set correctly can produce a clean image showing major craters. A telescope gets you to the next level of detail, but it's not a requirement.
What focal length do I need to fill the frame with the Moon?
The Moon occupies about 0.5 degrees of sky. On a full-frame sensor you need roughly 1200–1500mm to fill the frame. On an APS-C body (crop sensor), around 800–1000mm works. Most people shoot at 400–600mm and crop in post, which is a reasonable compromise.
Does the phase of the Moon matter for other types of night photography?
Yes, significantly. A bright full Moon washes out faint nebulae and the Milky Way. If you're planning wide-field night sky work, schedule those sessions around new Moon. Save the Moon sessions for first and last quarter nights when you're deliberately targeting the Moon itself.