Astrophotography
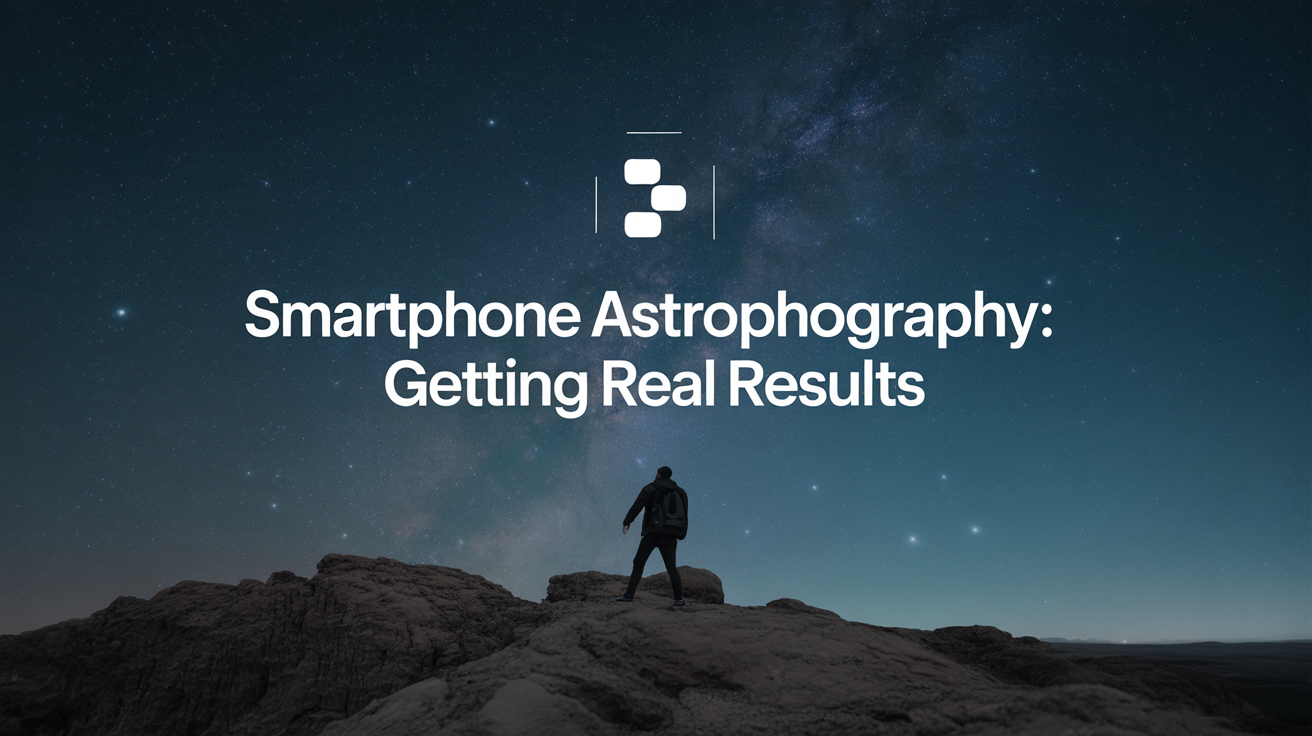
Smartphone Astrophotography: Getting Real Results
Learn how to photograph stars and the Milky Way with your phone. Practical tips on night mode, manual settings, tripods, and what your phone can realisticall...
Your phone can capture genuine night sky images. Not the polished shots from a dedicated camera on a tracking mount, but real photos of the Moon, bright star patterns, and even the Milky Way under dark enough skies. Getting those results takes the right approach, and knowing what your phone cannot do is just as useful as knowing what it can.
What Your Phone Can Realistically Capture
Honest expectations save a lot of frustration. Before going outside, it helps to know which targets are within reach and which ones are not.
The Moon is the most forgiving target. Even the simplest night mode will record clear surface detail on a half Moon or gibbous Moon. A full Moon is bright enough to photograph without any special technique.
Bright planets such as Jupiter, Saturn, Venus, and Mars show up as bright points of light. At standard focal lengths your phone will not resolve Saturn's rings or Jupiter's cloud bands. You need to shoot through a telescope eyepiece for that, which is covered in a later section.
Bright star patterns and constellations come through clearly with a ten to twenty second exposure on a steady surface. You will capture the shape of Orion, the Big Dipper, or the Pleiades cluster in a way that is recognizable and printable.
The Milky Way core requires a genuinely dark sky, a phone that shoots RAW or has an extended night mode, and a solid mount. Under Bortle 4 or darker skies, modern phones with large sensors can record the core as a faint band. It will not look like a Hubble image, but you can clearly see the structure.
Conjunctions and groupings (when two planets appear close together, or the Moon sits near a bright planet) make for striking phone images because you have a bright, well-defined subject against a dark sky.
What to skip for now: dim nebulae, faint galaxies, and double stars. These need longer focal lengths, tracking mounts, or stacking software that goes beyond casual phone shooting.
Settings: Night Mode, Pro Mode, and RAW
Most phones now include a dedicated night mode or astrophotography mode that automatically takes multiple frames and blends them. That works reasonably well for the Moon and bright star fields. For more control, switch to the manual or pro mode if your phone offers one.
Key settings to adjust in pro/manual mode:
| Setting | What to do | Why |
|---|---|---|
| ISO | Start around ISO 1600, raise to 3200 if the image is too dark | Higher ISO captures more light but adds grain |
| Shutter speed | 10 to 25 seconds for stars; keep it under 20 seconds to limit star trailing | Longer exposures smear stars into short lines |
| Focus | Switch to manual focus and set to infinity | Autofocus hunts and rarely locks on stars |
| White balance | Set manually to 3800K to 4200K | Auto white balance often shifts sky color toward orange |
RAW capture matters. If your phone offers a RAW or DNG format option, use it. RAW files preserve more detail in highlights and shadows, and give you far more latitude in editing. A RAW photo of the Milky Way will show structure that a compressed JPEG hides. Apps like Lightroom Mobile, Snapseed, or the free RawTherapee on desktop handle RAW phone files well.
The 500 rule gives you a rough guide for maximum shutter speed before stars visibly trail. Divide 500 by your lens's equivalent focal length. On most phone wide-angle lenses that works out to around 15 to 20 seconds. For a phone astrophotography session, staying at 20 seconds or under is a practical default.
For a broader look at where phone photography fits in the astrophotography world, astrophotography for beginners: how to start on a budget covers the full equipment landscape, including when it makes sense to move beyond a phone.
The Tripod Problem (and How to Solve It)
Phone astrophotography fails or succeeds largely on one factor: whether the phone stayed completely still during the exposure. A 15-second exposure that picks up any vibration produces blur that no editing can fix.
A dedicated phone tripod mount is inexpensive and makes a large difference. A small ballhead tripod with a phone clamp costs around $15 to $25 and fits in a jacket pocket. If you already own a camera tripod, phone clamps that screw into the tripod head cost less than $10.
If you have no tripod, rest the phone flat on a surface: a car hood, a fence post, a flat rock. The lens faces up, which limits your angle, but it eliminates shake entirely. Stack a small object under one edge to tilt the phone toward the sky.
Use a shutter delay or remote shutter. Even pressing the shutter button introduces vibration. Most phones let you set a 2 or 3-second delay so the phone settles before the exposure begins. Wireless earbuds with a play button, or a Bluetooth remote shutter, work as cable-free remote triggers.
Windy conditions are the hidden enemy of phone astrophotography. Even a breeze vibrating a light tripod will ruin exposures. Set the tripod low, brace the legs with rocks or a bag, or wait for a still night.
Afocal Shooting Through a Telescope Eyepiece
Afocal shooting means holding your phone camera up to a telescope eyepiece and photographing what you see. It is the way to get photos of Saturn's rings or Jupiter's cloud bands with a phone.
The technique works best with a phone adapter that clamps onto the eyepiece. These adapters hold the phone lens centered over the eyepiece barrel, which solves the alignment problem that makes hand-holding unreliable. Adapters cost between $20 and $50 for universal designs, and some telescope brands sell ones sized for their eyepieces.
Practical notes for afocal shooting:
- Use a low-magnification eyepiece first (25mm or 32mm) to get the planet in frame, then swap to a higher magnification once you have a workflow
- Set the phone to manual mode, focus at infinity, and let the telescope's focus knob do the actual focusing work
- Bright targets like the Moon and Venus benefit from lowering ISO to 100 and using a faster shutter to avoid overexposure
- Video mode, recorded at 1080p or 4K at 60 frames per second, captures more total data than a single still photo; you can then pull the sharpest individual frames in apps like PIPP (free) or just select the best frame manually
For a focused look at photographing one of the most rewarding targets, how to photograph the Moon even with a phone goes deeper on exposure settings and processing for lunar detail.
Editing Phone Night Sky Photos
A straight-out-of-phone night sky image usually looks flat and noisy. A few minutes in a free editing app makes a real difference.
Basic editing steps:
- Raise shadows to recover faint star detail in dark areas
- Lower highlights to prevent bright stars from washing out
- Add mild clarity or texture to bring out star pinpoints without over-sharpening noise
- Pull noise reduction up gently; too much and stars disappear, too little and grain dominates
- Adjust white balance toward cooler tones if the sky looks orange from light pollution
Avoid heavy vignetting filters or extreme saturation. Night sky photos look better with subtle, natural processing than with heavy Instagram-style edits.
If you want to try something more ambitious, free apps like Sequator (Windows) or Siril (cross-platform) can stack multiple phone exposures of the same scene to reduce noise. The technique is the same used in dedicated camera workflows. You shoot 15 to 20 identical frames, align them on the stars, and combine them. The result is noticeably cleaner than any single frame.
Star trail photography is another direction, and the core technique is the same for phones as for dedicated cameras. How to shoot star trails with just a camera and tripod walks through the intervalometer approach in detail.
Frequently Asked Questions
Can any smartphone take photos of the Milky Way?
Phones with larger sensors and lenses that open to f/1.8 or wider have the best chance. Flagship phones from the past three to four years with a dedicated night or astrophotography mode can capture the Milky Way core under Bortle 4 or darker skies. Budget phones with small sensors and slower lenses will show stars but will not resolve the Milky Way band clearly, even with long exposures.
How long should my exposure be for stars?
For wide-angle phone lenses, 15 to 20 seconds is a practical limit before stars show visible trailing. Some people prefer 10 seconds at higher ISO to keep stars as sharp points. If your phone has a dedicated astrophotography mode that stacks frames automatically, let it run through its full cycle, which is often two to four minutes total.
Do I need a dark sky location?
For the Moon and planets, no. Light pollution does not affect lunar photography significantly. For the Milky Way, yes. You need at least a Bortle 4 site, which means getting well outside suburban light domes. Apps like Light Pollution Map or Clear Outside help you find and plan a trip to darker skies within driving distance.
What is the difference between using night mode and pro mode?
Night mode automates the entire process, blending multiple short exposures to reduce noise. It is good for grab shots and requires no setup. Pro mode gives you direct control over ISO, shutter speed, focus, and white balance, which lets you optimize each shot for the specific target and conditions. For casual shooting, night mode works. For deliberate astrophotography, pro mode produces more consistent results.
Why do my stars look like short lines instead of dots?
Star trails in single exposures happen when the shutter is open long enough for Earth's rotation to move the stars across the sensor. Reduce your shutter speed. As a starting point, try 15 seconds on a wide-angle lens. If you want long, intentional trail arcs rather than slightly-blurred dots, that is a different technique covered separately.